How to Season Cast Iron Skillet Right
RecipeSimpli
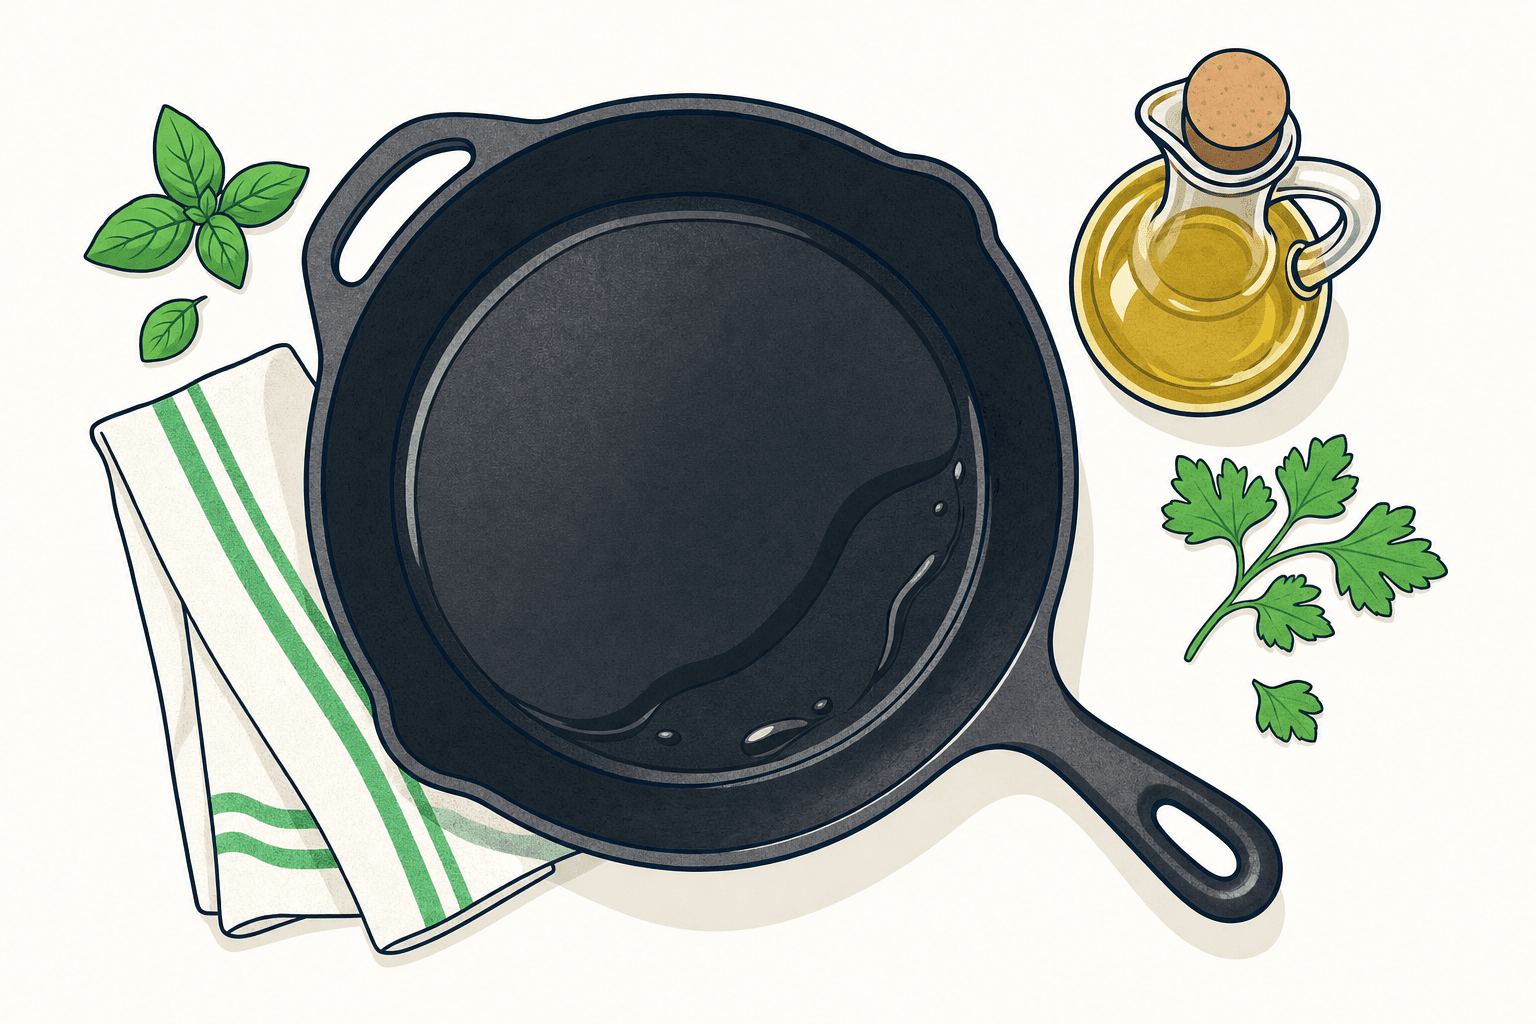
A cast iron skillet inspires a strange mix of confidence and fear. People will sear steaks, bake cornbread, and fry potatoes in one for years, then panic the moment a paper towel comes away black or a spot of rust appears near the handle. The good news is that cast iron is much harder to ruin than the internet makes it sound. Seasoning is not a magical factory coating, and it is not a fragile shell that falls off because you washed the pan with soap once. It is a thin, bonded layer of polymerized oil, built up over time and strengthened by how you cook.
If you want to know how to season cast iron skillet surfaces properly, the biggest ideas are simple: choose an oil that dries into a hard film, apply far less than you think, bake the pan hot enough to set that film, and learn the difference between ordinary wear and actual damage. A sticky pan is usually too much oil. Flaking seasoning usually means weak layers were built on top of grease, not that the iron itself failed. Rust looks dramatic, but it is usually fixable with scrubbing, drying, and reseasoning.
This is the practical version, the one that works in a home kitchen without mysticism. We will cover which oils make sense, what thin-layer seasoning actually means, what really strips or weakens seasoning, and how to rescue a rusty skillet so it can get back to doing what cast iron does best.
What seasoning is, and what it is not
Seasoning is a layer of oil that has changed under heat. When a very thin film of fat is heated past the point where it starts to break down and react with oxygen, parts of it polymerize. In plain English, the oil turns into a tougher, more plastic-like network that clings to the iron. That layer helps resist rust and improves release.
It is not the same as a slick nonstick coating on a factory-made skillet. Even a beautifully seasoned cast iron pan will not behave exactly like PTFE-coated cookware. Eggs still benefit from enough fat and moderate heat. Fish still releases better when it has browned enough to let go. Good seasoning helps, but heat control and technique matter just as much.
It is also not a one-and-done process. Most new skillets come with preseasoning from the manufacturer, but that layer is usually a starting point, not the final form. Every time you cook with enough fat, especially when roasting vegetables, frying cutlets, baking cornbread, or searing meats, you can gradually improve the surface.
What you are trying to create at the beginning is not a thick black crust. It is several very thin, hard layers. Thin is what bonds well. Thick is what turns gummy, sticky, or flaky.
A little context, because cast iron got a mythology problem
Cast iron pans have been kitchen workhorses for centuries because iron is durable, holds heat well, and moves from stovetop to oven easily. In older kitchens, cast iron was everyday cookware, not a personality trait. People cooked in it, scrubbed it, dried it, and put it away.
The modern confusion comes from a few places. One is antique pans, which can be smoother than many newer pans because older manufacturing and years of use left them with a more polished cooking surface. Another is the rise of online advice that treats every bit of discoloration like a crisis. Then there is the soap myth, which grew from a time when soap was harsher and could indeed leave residues or affect fat-based coatings more aggressively than modern dish soap does.
Today, a small amount of dish soap is not the enemy. Long soaking, trapped moisture, and thick layers of half-baked oil cause more trouble than a quick wash ever will.
The best oil for seasoning cast iron
The best oil is not necessarily the fanciest or the most expensive. You want an oil that can form a durable film when heated in a very thin layer. In practice, several oils work well.
Good options include:
- Grapeseed oil
- Canola oil
- Vegetable oil
- Sunflower oil
- Soybean oil
- Flaxseed oil, with caveats
Grapeseed, canola, and standard vegetable oil are easy to find, affordable, and reliable. They spread thinly and tend to build serviceable seasoning without drama.
Flaxseed oil gets a lot of attention because it can create a hard film, but it also has a reputation for becoming brittle and flaking in real kitchen use if the layers are too thick or the pan is not used consistently. It can work, but it is less forgiving. If you want a low-stress approach, grapeseed or canola is usually the better home cook choice.
Avoid using large amounts of butter, extra virgin olive oil, bacon grease, or coconut oil for the initial oven-seasoning process. That does not mean you cannot cook with them. It means they are not ideal for building your base layers. Butter contains milk solids and water, bacon grease varies a lot and can leave softer residues, and extra virgin olive oil can become tacky more easily in this application.
You do not need a special cast iron conditioner unless you want one. Most are just blends of familiar fats or waxes. A plain neutral oil works.
Why thin layers matter more than the oil itself
If seasoning had one commandment, it would be this: wipe off more oil than feels reasonable.
When people imagine seasoning, they picture coating the pan generously so the iron can soak it up. Cast iron does not soak up oil like bread or wood. The oil needs to sit on the surface in a microscopic film. Excess oil does not become better seasoning. It pools, beads, and partially cures into sticky patches.
Here is the useful visual: after applying oil, the skillet should look almost dry. If it looks shiny all over, there is probably too much on it. Rub oil onto every surface, then wipe it off with a clean cloth or paper towel as if you made a mistake and are trying to remove it.
That ultra-thin layer is what bakes into a hard finish.
How to season cast iron skillet surfaces in the oven
This method works for a new skillet, a pan that has lost some seasoning, or a freshly scrubbed skillet after rust removal.
You need:
- 1 cast iron skillet
- 1 to 2 teaspoons neutral oil, more only if seasoning a very large pan
- Paper towels or a lint-free cloth
- Aluminum foil or a sheet pan to catch drips
- An oven
Step 1: Wash and dry the pan
Wash the skillet with warm water and a small amount of dish soap if needed, especially if it is new or dusty. Scrub off any residue. Dry it thoroughly.
Set the skillet over low heat for 5 to 10 minutes, or place it in a 200F (93C) oven for about 10 minutes, so all moisture evaporates. Warm iron also helps oil spread more thinly.
Step 2: Apply a very thin coat of oil
Put a small amount of oil on a paper towel, not directly into the pan if you can help it. Rub it over the entire skillet, inside, outside, handle, and rim. If the pan has a helper handle or spouts, coat those too.
Now take a clean towel and wipe the skillet aggressively until it looks nearly dry. This step is what separates hard seasoning from sticky disappointment.
Step 3: Bake upside down
Place foil or a sheet pan on the lower rack to catch any stray drips. Put the skillet upside down on the center rack.
Bake at 450F to 500F (230C to 260C) for 1 hour. The exact temperature depends partly on the oil, but this range works well for common neutral oils. You want enough heat to drive the oil through polymerization, not just warm it.
After 1 hour, turn off the oven and let the skillet cool in the oven until safe to handle, or at least until the pan has lost its fierce heat. Slow cooling is convenient and helps avoid grabbing a scorching handle by accident.
Step 4: Repeat if needed
For a new or stripped pan, repeat the thin oil plus 1-hour bake process 2 to 4 times. More is not always better. Three solid, thin coats usually beat six uneven ones.
If the pan already has decent seasoning and just looks a little dull, one round may be enough.
What good seasoning should look and feel like
Freshly seasoned cast iron is not always jet black immediately. Depending on the pan and oil, it may look bronze, brown-black, or unevenly satiny at first. That is normal.
A well-seasoned skillet should feel dry and smooth, not sticky or greasy. A paper towel may still pick up some dark residue from the pan, especially on newer skillets or pans with rougher interiors. That is not automatically a failure. If the surface feels hard and dry, and food cooks well, you are in good shape.
Seasoning deepens with use. Frying in a shallow layer of oil, baking cornbread, roasting potatoes, or making skillet pizza will often improve the finish faster than endless oven cycles.
The science behind sticking, browning, and black buildup
Seasoning protects and helps release, but it is only one part of pan performance.
Food sticks for a few reasons:
- The pan is not preheated enough
- The food is moved before it naturally releases
- There is too little fat for the food and heat level
- Moisture is steaming the surface instead of browning it
- Protein is bonding to bare or weakly seasoned spots
A good cast iron pan likes a few minutes of preheating over low to medium heat. Rushing to high heat can create hot spots and increase sticking. Once the pan is evenly hot, add fat, then food.
As for black flakes or residue, not all of it is seasoning. Sometimes it is carbonized food, old grease, or sugary marinade remnants. A pan that is never scrubbed can build a crust that looks like seasoning but behaves badly. Real seasoning is thin and bonded. Burnt debris is fragile and messy.
That is why proper cleaning matters.
What actually ruins seasoning
The list is shorter than you may think.
Prolonged moisture
Water is the true enemy of bare iron. Leaving a skillet wet in the sink, air-drying it slowly, or storing it with trapped moisture encourages rust. Rust can creep under weak seasoning and lift it.
Long soaks and dishwasher cycles
A quick wash is fine. A long soak is not. Dishwashers expose the pan to prolonged water, detergent, and humid drying conditions, all terrible for cast iron.
Cooking highly acidic foods for a long time in a weakly seasoned pan
Tomato sauce, wine-heavy braises, and long simmers with vinegar can wear down fresh or thin seasoning, especially if the pan is newer. A short pan sauce with tomatoes is not the end of the world. An all-afternoon braise in a barely seasoned skillet is more likely to strip patches and leave metallic flavors.
Thick applications of oil during seasoning
This is the hidden saboteur. Thick coats create soft, sticky, and flaky layers. They look dark at first, then fail under normal cooking.
Abrasive neglect, not sensible scrubbing
Scrubbing with kosher salt, a chain mail scrubber, or the rough side of a sponge is usually fine when needed. What damages the pan more often is the opposite, letting burnt residue accumulate for months until the surface becomes uneven and starts peeling.
Extreme thermal shock
Plunging a screaming-hot pan into cold water can cause warping or, in rare cases, cracking. Cast iron is sturdy but not invincible. Let it cool somewhat before washing.
What does not usually ruin seasoning
This part calms people down.
Soap
Modern dish soap used briefly and sensibly will not dissolve a properly polymerized seasoning layer. If your seasoning washes away with a light soapy scrub, it was not well bonded in the first place.
Metal utensils
A metal spatula often helps cast iron by scraping away food residue and smoothing weak high spots. Use common sense, but do not baby the pan so much that old crud becomes permanent architecture.
Cooking in it often
Regular use is good. In fact, a pan that sits unused after one ceremonial seasoning session often performs worse than one that gets used twice a week.
Uneven color
Cast iron is rarely cosmetically perfect. Mottling, dull spots, and color shifts happen. Performance matters more than a uniform black selfie finish.
Daily care after cooking
The best care routine is short enough that you will actually do it.
- After cooking, let the pan cool slightly, not completely if it is covered in stuck-on food.
- Wash with warm water. Use a sponge, brush, or chain mail scrubber as needed. Add a drop or two of dish soap if greasy residue remains.
- Dry immediately with a towel.
- Put the pan over low heat for 2 to 5 minutes until fully dry.
- If the pan looks thirsty or dull, rub on 1/4 teaspoon or less of oil, then buff it until it looks almost dry.
- Let it cool and store it uncovered or with airflow.
That optional final whisper of oil is maintenance, not a full seasoning cycle. Too much after each wash can make the pan gummy over time, especially if it is not heated enough to set the oil.
A rescue plan for rust
Rust looks alarming, but surface rust is usually fixable. Unless the pan has deep pitting severe enough to compromise structure, most rusty skillets can come back.
For light surface rust
If you see orange haze or a few rusty freckles:
- Scrub the rust with steel wool, a scouring pad, or a stiff brush until you reach clean metal.
- Wash with warm water and a little dish soap.
- Dry thoroughly.
- Heat the pan for 5 to 10 minutes to remove hidden moisture.
- Apply a very thin coat of oil and reseason in the oven for 1 to 2 cycles.
For heavier rust or patchy old seasoning
If the pan is rough with rust, old flakes, or sticky failed layers:
- Scrub aggressively with steel wool or a rust eraser until the loose rust and weak seasoning are removed.
- Wash and dry thoroughly.
- Assess the surface. If much of the pan is down to bare iron, treat it like a stripped pan.
- Apply very thin coats of oil and bake upside down at 450F to 500F (230C to 260C) for 1 hour per cycle, repeating 3 to 4 times.
- Start cooking foods that support seasoning, such as fried potatoes, cornbread, grilled cheese, or shallow-fried cutlets.
When rust keeps coming back
Recurring rust usually means one of three things:
- The pan is being stored damp
- The seasoning is incomplete or patchy
- The cooking surface is clean, but the rim, handle, underside, or pour spouts are being ignored
Season and dry the entire pan, not just the inside cooking surface.
Sticky seasoning, flaking seasoning, and other common problems
The pan feels tacky after seasoning
Cause: too much oil, or not enough heat and time.
Fix: wipe the pan thoroughly and bake it again at 450F to 500F (230C to 260C) for 1 hour. If it is very gummy, scrub with hot water and soap first, dry well, then reseason with a thinner coat.
The seasoning flakes off in chips
Cause: weak layers built over residue or thick oil, sometimes with brittle seasoning from repeated overcoating.
Fix: scrub away the loose flaking areas until you reach solid seasoning or bare iron. Wash, dry, and reseason with thin layers. Do not keep painting oil over flakes.
Food tastes metallic
Cause: exposed iron from weak seasoning, often after cooking acidic food.
Fix: clean, dry, and apply 1 to 2 oven-seasoning cycles. Then cook less acidic, higher-fat foods a few times to rebuild.
The pan has rough black crusty spots
Cause: burnt food and carbon buildup, not useful seasoning.
Fix: scrub the crust off with chain mail, a scraper, or coarse salt and a little oil. Wash, dry, and lightly reseason if needed.
Eggs still stick
Cause: often heat management, not just seasoning.
Fix: preheat over low to medium heat for several minutes, add enough fat, and let the eggs set before moving them. A cast iron pan that is blazing hot or barely heated will both give poor egg results for different reasons.
Best foods to cook after seasoning
The first few cooks on a newly seasoned pan should be forgiving and moderately fatty.
Great choices:
- Cornbread
- Dutch babies
- Roasted potatoes with 1 to 2 tablespoons oil
- Onion-fried hash browns
- Grilled cheese
- Bacon, if you do not rely on it as the only seasoning method
- Chicken thighs with skin
- Shallow-fried schnitzel or cutlets
Less ideal right away:
- Delicate fish with little oil
- Scrambled eggs over high heat
- Tomato-heavy braises
- Sticky sugary glazes
Using the pan well is part of seasoning it well.
How often should you reseason?
Not every week, and not by ritual.
If your skillet is cooking well, not rusting, and cleaning up without trouble, you probably do not need a full oven reseasoning. Do one when:
- Rust appears
- Large bare patches develop
- The surface got scrubbed back significantly
- A sticky failed seasoning job needs resetting
- You restored an old pan
Otherwise, ordinary cooking and sensible cleanup are enough. The best-maintained cast iron pans are usually the ones that are used often and fussed over less.
Storage matters more than many people realize
Store cast iron in a dry place with airflow. If stacking pans, place a paper towel or cloth between them to absorb stray moisture and protect the surface. Do not put a lid tightly on a skillet if there is any chance moisture is trapped inside.
In humid climates, it helps to be extra diligent about stovetop drying after washing. A pan that looks dry can still hold moisture around the handle, hanging hole, helper handle joint, or pour spouts.
A realistic cast iron routine for a home cook
If you want the lowest-maintenance version of cast iron ownership, here it is:
For a new pan:
- Wash and dry it
- Do 2 to 3 thin oven-seasoning cycles
- Cook fatty, oven-friendly foods in it for the first week or two
After normal use:
- Wash promptly
- Dry fully over heat
- Add a trace of oil only if the surface looks dry
If problems appear:
- Sticky means too much oil
- Flaking means failed layers or carbon buildup
- Rust means moisture won, and you need to scrub and reseason
This approach beats both extremes, the neglect that creates crust and rust, and the overprotective routine that leaves a pan permanently tacky.
A few variations for different starting points
Brand-new preseasoned skillet
Most new pans need less work than people think. One or two thin oven-seasoning rounds can help, but you can also start cooking in them right away if the factory finish looks even and dry. The key is not to drown them in oil out of insecurity.
Vintage pan with smoother interior
A smoother vintage pan often releases food beautifully once seasoned, but older pans can hide rust or old rancid grease. Clean thoroughly before seasoning. If the pan has collector value, avoid unnecessarily harsh stripping methods unless it truly needs restoration.
Grill or campfire use
Outdoor cooking exposes the pan to soot, variable heat, and sometimes damp storage. After use, scrub off food and soot where practical, dry completely, and oil lightly before storing. If the pan lives outdoors or in a garage, rust prevention becomes more important.
Enamel-coated cast iron
Do not season enameled cast iron like bare cast iron. Black matte enamel interiors sometimes benefit from a light oil film during cooking, but they do not need polymerized seasoning layers. If you are unsure, check the manufacturer instructions.
The takeaways that actually matter
Seasoning cast iron is less about secret oil blends and more about discipline with thin layers, enough heat, and proper drying. If you remember a few principles, you can keep almost any skillet in working shape:
- Use a neutral oil like grapeseed, canola, or vegetable oil for reliable oven seasoning.
- Apply a whisper-thin coat, then wipe until the pan looks nearly dry.
- Bake upside down at 450F to 500F (230C to 260C) for 1 hour.
- Repeat 2 to 4 times for bare or freshly restored iron.
- Wash your pan when it is dirty, soap is fine in moderation, and always dry it thoroughly.
- Rust is fixable, sticky seasoning is usually excess oil, and flaking usually means weak layers or carbon buildup.
- The best seasoning is reinforced by cooking, especially with moderate fat and good heat control.
Cast iron rewards use, not anxiety. A pan with a few cosmetic quirks but a hard, dry, well-maintained surface will serve you better than a perfectly black pan that feels sticky and fragile. Learn the thin-layer method, keep moisture under control, and do not be afraid of a rescue job. A rusty skillet is often just a future great skillet that needs one good afternoon of attention.