Pellet Smoker Recipes for Beginners: Temperature “Zones,” Smoke Levels, and a No‑Guesswork Timing Chart for Juicy Meat + Veg
RecipeSimpli

Why pellet smokers are beginner-friendly (and where they still trip people up)
Pellet smokers are popular because they remove two of the hardest parts of outdoor cooking: temperature management and clean combustion. An auger feeds hardwood pellets into a fire pot; a controller regulates heat by adjusting fuel and airflow. In practice, you set a temperature like an oven and the cooker does the rest.
But “set it and forget it” can become “set it and regret it” if you don’t understand a few fundamentals:
- Smoke flavor is strongest at lower temps and during the early part of a cook. After a certain point, you’re mostly cooking with heat, not adding much smoke.
- Different meats finish by internal temperature and tenderness, not by time. A timing chart can guide you, but a thermometer confirms doneness.
- Chicken skin and brisket are special cases. Chicken skin can go rubbery if you stay too low for too long; brisket can dry out if you power through the stall without managing evaporation and collagen conversion.
This guide will give you a reliable framework: temperature “zones,” smoke levels, wrap decisions, a no-guesswork timing chart, and four adaptable base recipes you can remix with different rubs, sauces, and sides.
The 3 temperature “zones” on a pellet smoker
Think of pellet cooking as three modes. You can move between them in a single cook (common for brisket, ribs, poultry, and vegetables).
Zone 1: 180–225°F — Smoke zone (maximum smoke impact)
Best for: brisket, pork shoulder, ribs, salmon, turkey, queso, nuts, cheese (at the low end), and “smoke first” phases.
What’s happening (culinary science in plain English):
- At lower temps, pellets tend to smolder a bit more, producing more visible smoke and more volatile aromatic compounds that stick to food.
- Smoke absorption is greatest early while the surface is moist and cool. As the exterior warms and dries, smoke compounds adhere less.
- You’re also building the bark—a dehydrated, seasoned crust formed by salt, spices, rendered fat, and the Maillard reaction (which accelerates as surface temps rise).
Beginner win: Use this zone to build smoke flavor and bark.
Beginner trap: Staying here too long for poultry can lead to pale, rubbery skin.
Zone 2: 250–325°F — Roast zone (balanced smoke + efficient cooking)
Best for: most “all-day” meats once smoke is established—brisket, pork shoulder, ribs; also casseroles, smoked mac and cheese, and hearty vegetables.
What’s happening:
- Collagen conversion and fat rendering proceed more efficiently.
- You still get smoke, but less intensely than Zone 1.
- This is the sweet spot for cooks who want great texture without an overnight session.
Beginner win: If you’re nervous about drying meat, this zone is often more forgiving than very low temps because you reach finish temps sooner.
Zone 3: 350–450°F — Bake / crisp / sear-finish zone
Best for: crisping chicken skin, finishing wings, roasting vegetables, baking cornbread, reverse-searing steaks, and setting sauces.
What’s happening:
- Surface temperatures get high enough for more aggressive Maillard browning, crisping, and caramelization.
- Smoke impact is lighter, but you can still carry smoke flavor from earlier phases.
Beginner win: This zone fixes common pellet-smoker complaints: “my chicken skin is rubbery” and “my veggies are soft but not browned.”
Beginner trap: Very sugary sauces can burn—apply late.
Smoke level: how to control it without overthinking
Pellet smokers vary, but most offer a “smoke” setting, “super smoke,” or a low-temp range that produces more smoke.
A practical smoke strategy
- If you want noticeable smoke: start in Zone 1 for 60–180 minutes, then move to Zone 2 to finish.
- If you want mild smoke: cook in Zone 2 the whole time.
- If you want clean, light smoke (especially for chicken and vegetables): use Zone 2–3 and pick a mild wood.
Wood choices (simple guidance)
- Mild: apple, cherry, alder (great for poultry, pork, fish, vegetables)
- Medium: oak (the “all-purpose” workhorse), pecan
- Bold: hickory, mesquite (use sparingly at first; great for beef)
If you’re unsure, oak + a fruitwood blend is a safe “goes with everything” starting point.
The wrap decision: when to wrap, what to wrap with, and why it works
Wrapping is not mandatory—but it’s one of the most useful tools for beginners because it reduces guesswork during the stall.
The stall (what it is)
On large cuts like brisket and pork shoulder, internal temperature can plateau around 150–170°F for hours. This happens because moisture evaporating from the surface cools the meat—similar to sweating.
Wrapping options
- Butcher paper: breathable; preserves bark better; still speeds cooking.
- Foil: tight seal; speeds cooking the most; can soften bark.
When to wrap (rules you can actually use)
Wrap when:
- Bark looks right (deep mahogany, dry to the touch, not muddy), and
- Internal temp is typically 160–175°F on big cuts, or
- You’re behind schedule and need to push through.
Don’t wrap when:
- You’re still building bark color.
- You’re cooking something you want dry on the surface (like wings before crisping).
How to avoid dry brisket (and other brisket heartbreak)
Brisket is demanding because it’s both lean (flat) and collagen-rich (needs time to tenderize). Beginners often fail in one of two ways: they cook too hot too fast and dry the flat, or they stop at a “safe temp” before collagen fully converts and it stays tough.
Brisket essentials (beginner proof)
- Cook to tenderness, not a number. Temperature guides you, but brisket is done when a probe slides into the flat with little resistance (often described as “warm butter”). This commonly occurs somewhere around 195–205°F, but feel wins.
- Wrap after bark sets to protect the flat and speed the stall.
- Rest properly so juices redistribute and the collagen gel sets.
The rest: the most skipped step
Rest brisket at least 1 hour, ideally 2–4 hours in a cooler (wrapped, with towels) or in a low oven (around 150–170°F if your oven allows). This improves sliceability and juiciness.
How to avoid rubbery chicken skin (the pellet-smoker classic)
Rubbery skin usually comes from too low a temperature for too long, which renders fat slowly without crisping the skin.
Fixes that work
- Cook chicken at 300–375°F for most of the cook.
- Finish at 400–450°F to crisp.
- Dry the skin: pat dry; optionally air-dry uncovered in the fridge for 4–24 hours.
- Use a little baking powder in the rub (about 1/2 tsp per pound of wings, optional). It raises surface pH, improving browning and crisping (a technique popularized in modern test kitchens).
- Sauce late: apply sugary sauces in the last 10–20 minutes.
Tools that remove guesswork (what you actually need)
- Dual-probe thermometer: one probe for the meat, one for grate temperature. Pellet grills can read hotter or cooler than the controller.
- Instant-read thermometer: for quick checks and poultry safety.
- Foil and butcher paper: for wrapping and resting.
- A small spray bottle (optional): apple cider vinegar + water (1:1) for spritzing big meats if the surface looks too dry.
- A simple notebook: record temps, times, and results. Two cooks in, you’ll feel like a pro.
No‑guesswork timing chart (plus what can change it)
Use this as a planning tool. Always confirm with internal temperature and tenderness.
Assumptions:
- Pellet smoker preheated, lid closed as much as possible
- Moderate outdoor conditions (not freezing, not extreme wind)
- Typical thickness
- Cooking at 225°F (smoke zone) or 275°F (roast zone) as noted
Important: Time varies with thickness more than weight. A “small” brisket can still be thick.
Timing chart (planning estimates)
| Food | Smoker Temp | Approx Time | Doneness Target | Notes |
|---|---|---|---|---|
| Brisket (whole packer 10–16 lb) | 225→275°F | 10–16 hr + rest | Probe-tender, ~195–205°F | Wrap around 160–175°F when bark sets. Rest 2–4 hr improves results. |
| Brisket flat (5–8 lb) | 225→275°F | 6–10 hr + rest | Probe-tender, ~195–205°F | Flats dry faster; consider foil wrap. |
| Pork shoulder / butt (6–10 lb) | 225→275°F | 8–14 hr + rest | 195–205°F for pulling | Very forgiving. Wrap optional; helps timing. |
| Spare ribs (St. Louis) | 250–275°F | 4.5–6.5 hr | Bend test; ~195–203°F | Wrap optional. Sauce late. |
| Baby back ribs | 250–275°F | 3.5–5.5 hr | Bend test | Leaner than spares; watch for dryness. |
| Whole chicken (4–5 lb) | 325–375°F | 60–90 min | Breast 160–165°F, thigh 175–190°F | Finish hot for crisp skin. |
| Chicken thighs (bone-in) | 325–375°F | 45–75 min | 175–190°F | Thighs love higher temps; juicy and forgiving. |
| Wings | 325°F then 425°F finish | 45–75 min | 175–190°F | Crisp by finishing hot; sauce at the end. |
| Turkey breast (bone-in) | 300–325°F | 2–3.5 hr | 160–165°F | Brine helps. Rest 20–30 min. |
| Salmon (fillet) | 200–250°F | 30–75 min | 125–135°F (preference) | Use mild wood. Don’t over-smoke. |
| Meatloaf (2–3 lb) | 275–325°F | 1.5–2.5 hr | 160°F | Great beginner smoker cook. |
| Roasted vegetables (sheet pan) | 375–425°F | 20–45 min | Tender + browned | Toss halfway; oil + salt. |
| Baked potatoes | 375°F | 60–90 min | 205–210°F, soft | Oil + salt on skin for better texture. |
| Mac and cheese (pan) | 300–350°F | 45–90 min | Bubbling + browned top | Smoke first at 225°F for 20–30 min if desired. |
What changes the timing
- Weather: cold and wind increase cook time.
- Meat temperature: starting from fridge vs closer to room temp.
- Lid opening: every peek costs heat and time.
- Thickness & fat content: thick cuts take longer; lean cuts finish faster and dry sooner.
- Wrapping: wrapping shortens cooks significantly.
A beginner workflow you can reuse for almost anything
- Preheat 15–30 minutes.
- Start with smoke (Zone 1) if you want a stronger profile.
- Shift to roast (Zone 2) for the bulk of the cook.
- Wrap when bark is set (big cuts) or when you need to push timing.
- Finish hot (Zone 3) when crisping or setting glaze.
- Rest before slicing or pulling.
Four adaptable base recipes (mix-and-match, beginner friendly)
Each recipe is built as a template: method first, flavors second. Swap rubs, sauces, and vegetables based on what you like.
Base Recipe 1: “Any Day” Pulled Pork Shoulder (smoke → wrap → pull)
Why it’s perfect for beginners: Pork shoulder is fatty and collagen-rich, so it stays juicy and becomes tender even if you’re not perfect.
Ingredients
- 1 pork shoulder/butt (6–10 lb)
- Yellow mustard or oil (binder, optional)
- Simple rub: 2 tbsp kosher salt, 2 tbsp coarse black pepper, 2 tbsp paprika, 1 tbsp brown sugar (optional), 1 tbsp garlic powder
- 1/2 cup apple juice (optional, for wrapping)
Method
- Preheat smoker to 225°F (Zone 1). Use apple/cherry/oak.
- Season: apply binder if using, then coat heavily with rub.
- Smoke 2–4 hours until color deepens and the surface looks dry and set.
- Raise to 275°F (Zone 2) and continue cooking until internal hits 160–175°F and bark is where you want it.
- Wrap (foil or butcher paper). If foil, add a splash of apple juice.
- Cook until 195–205°F and a probe slides in easily.
- Rest wrapped 45–90 minutes.
- Pull and mix. Salt to taste. Optionally add a vinegar sauce to brighten.
Flavor variations
- Carolina-ish: add cayenne; serve with vinegar-pepper sauce.
- Texas-ish: salt + pepper only; serve with pickles and onions.
- Korean-inspired: rub with gochugaru + brown sugar; finish with a gochujang glaze late.
Base Recipe 2: Foolproof Chicken Thighs with Bite-Through Skin (roast → crisp)
Why thighs: They taste better at higher temps (175–190°F) and are much harder to dry out than breasts.
Ingredients
- 8 bone-in, skin-on chicken thighs
- 1–2 tsp kosher salt (plus more to taste)
- 1 tsp black pepper
- 1 tsp paprika
- 1/2 tsp garlic powder
- Optional: 1/2 tsp baking powder (for crispier skin)
Method
- Dry the skin: pat thighs very dry. (Optional: refrigerate uncovered 4–12 hours.)
- Preheat smoker to 350°F (Zone 2–3 border). Use mild wood (apple/cherry).
- Season thighs evenly. If using baking powder, mix it thoroughly into the rub.
- Cook skin-side up 35–55 minutes until internal is 175°F+.
- Crisp finish: increase to 425°F for 5–15 minutes until the skin tightens and browns.
- Rest 5–10 minutes.
Sauce guidance
- For BBQ sauce, brush on during the last 10 minutes so sugar doesn’t burn.
- For dry-rub style, skip sauce and serve with lemon wedges or a vinegar dip.
Base Recipe 3: Beginner Brisket Method (smoke → wrap → rest)
This is a simplified approach that prioritizes tenderness and moisture.
Ingredients
- 1 whole packer brisket (10–16 lb), ideally Choice or higher
- Kosher salt and coarse black pepper (50/50 by volume)
- Optional: garlic powder
Method
- Trim (minimalist): leave about 1/4 inch fat cap; remove hard surface fat that won’t render.
- Preheat smoker to 225°F (Zone 1). Use oak with a little hickory.
- Season generously with salt and pepper.
- Smoke until bark is deep mahogany and internal temp is typically 160–175°F.
- Wrap in butcher paper (or foil if you prefer softer bark and faster cooking).
- Raise to 275°F (Zone 2) and cook until probe-tender, usually 195–205°F.
- Rest 2–4 hours (wrapped) in a cooler or low oven.
- Slice against the grain. Separate point and flat if needed.
Troubleshooting
- Dry flat: you likely cooked past tender or didn’t rest long enough. Next time wrap earlier, rest longer, and avoid slicing immediately.
- Tough brisket at 203°F: it’s not done—keep cooking until probe-tender.
- Bark too soft: use butcher paper instead of foil; unwrap for 10–20 minutes at the end if needed (watch dryness).
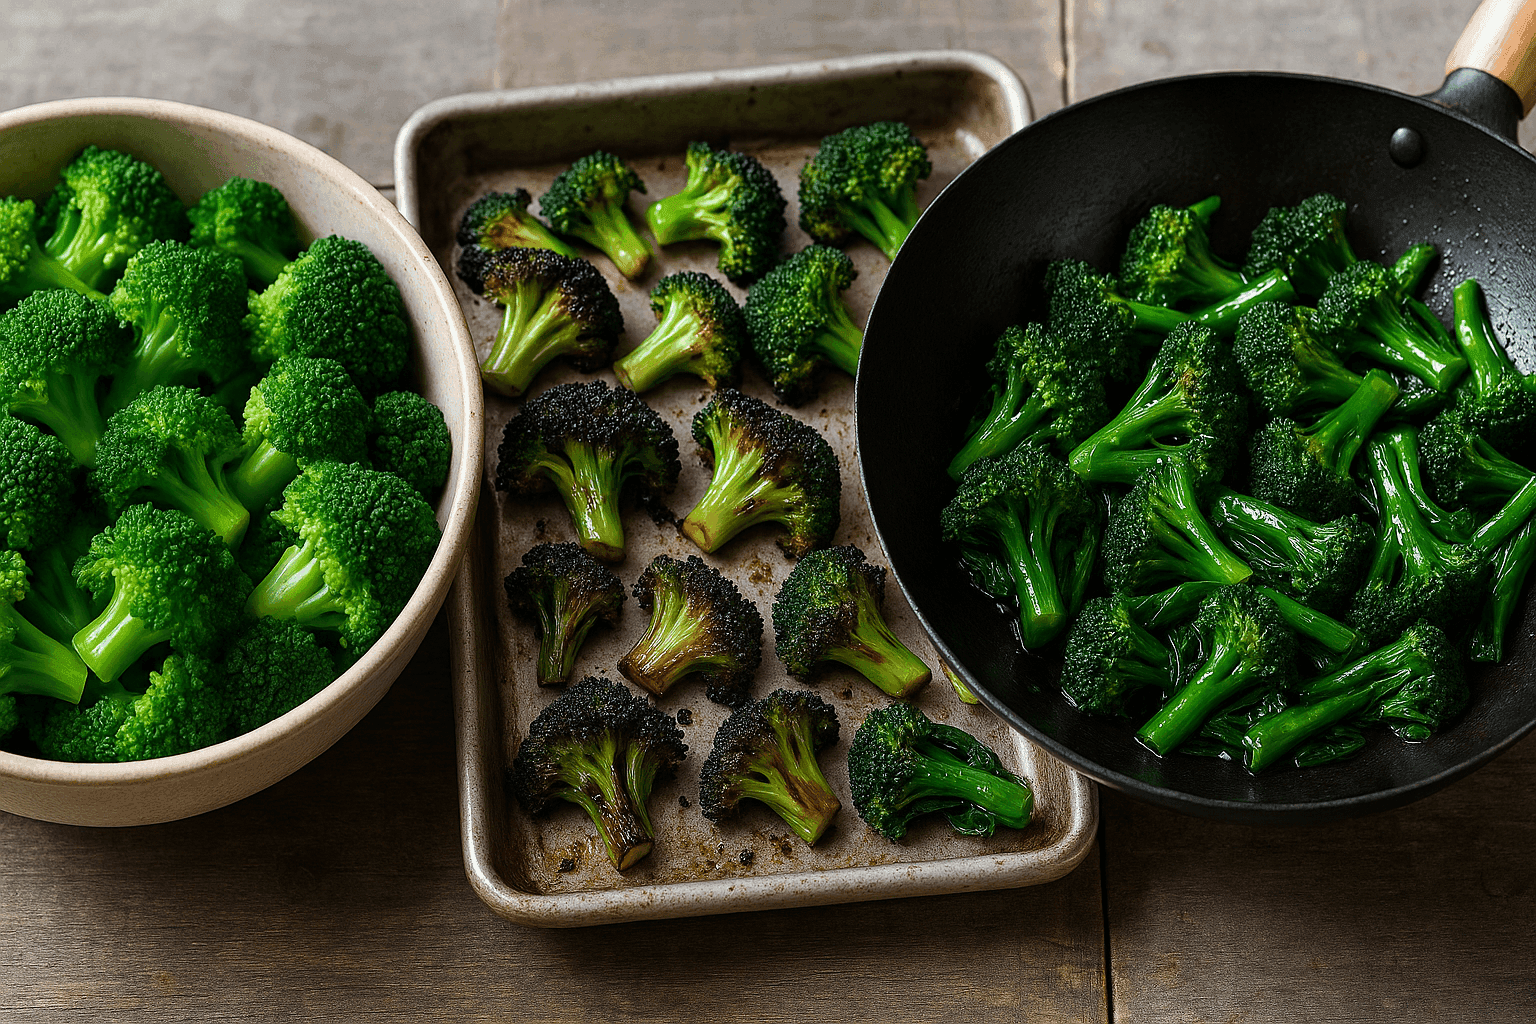
Base Recipe 4: Sheet-Pan Smoked-Roasted Vegetables (smoke kiss + real browning)
Pellet smokers can produce incredible vegetables if you treat them like roasted vegetables (high heat) with a short smoke step.
Ingredients
- 2–3 lb mixed vegetables, cut for even cooking: broccoli, cauliflower, carrots, Brussels sprouts, onions, bell peppers, mushrooms
- 2–3 tbsp olive oil
- 1–1.5 tsp kosher salt (to start)
- Black pepper
- Optional flavor boosters: smoked paprika, cumin, chili flakes, garlic, balsamic vinegar, lemon zest
Method
- Preheat smoker to 225°F (Zone 1).
- Toss vegetables with oil, salt, pepper.
- Smoke on a sheet pan (or in a grill basket) 15–25 minutes.
- Increase to 400–425°F (Zone 3) and roast 10–25 minutes, tossing once, until browned and tender.
- Finish with acid: lemon juice or a splash of vinegar.
Pairing ideas
- Serve under pulled pork tacos.
- Mix into smoked grain bowls with a yogurt sauce.
- Add to pasta with parmesan and toasted nuts.
Planning a full meal: a simple schedule that works
Here’s a beginner-friendly way to run “meat + veg” without panic.
Example: Pulled pork + smoked-roasted vegetables
- T–12 hours: Season pork; optional fridge rest.
- T–10 hours: Start pork at 225°F.
- T–6 hours: Increase to 275°F.
- T–5 to T–3 hours: Wrap when bark is set.
- T–1.5 hours: Pork finishes; rest wrapped.
- T–45 minutes: Start vegetables (225°F smoke step).
- T–20 minutes: Roast vegetables at 425°F.
- T–0: Pull pork, serve.
This sequencing uses the smoker efficiently and keeps vegetables hot and browned.
Food safety checkpoints (quick but essential)
- Chicken: aim for 160–165°F in breast (carryover brings it up), 175–190°F in thighs for best texture.
- Ground meats: 160°F (meatloaf, burgers unless you prefer otherwise and grind yourself).
- Holding hot: keep cooked food above 140°F if holding.
- The “danger zone” concept: don’t leave perishable food at room temp for long periods. Seasoning and airflow don’t make raw meat “safe.”
Use USDA temperature guidelines as your baseline reference for safety; then use texture cues for barbecue cuts that must go well beyond “safe” to become tender.
Common beginner mistakes (and the fix)
-
Chasing time instead of tenderness
- Fix: plan with the chart, finish with a thermometer + feel.
-
Too much smoke, especially with bold woods
- Fix: use fruitwood/oak blends; smoke early, then cook hotter.
-
Opening the lid repeatedly
- Fix: trust your probes; check at planned intervals.
-
Saucing too early
- Fix: glaze late, especially if the sauce has sugar or honey.
-
Skipping the rest
- Fix: build rest time into your schedule. It’s part of the cook.
A final mental model: smoke for flavor, heat for texture
If you remember one thing, make it this:
- Smoke builds flavor early.
- Heat builds texture and tenderness over time.
Use Zone 1 to set your smoke profile, Zone 2 to cook efficiently and evenly, and Zone 3 to crisp, brown, and finish like a pro. Combine that with smart wrapping and a real rest, and you’ll reliably turn out juicy brisket, tender pulled pork, and chicken with skin people actually want to eat.
Optional reading / references (for deeper learning)
- USDA Food Safety and Inspection Service (FSIS): internal temperature guidance and safe handling basics.
- Meat science concepts widely taught in culinary programs: collagen conversion, evaporative cooling (“stall”), Maillard browning, and the role of surface drying in bark formation.
- Barbecue methodology commonly discussed by experienced pitmasters: wrapping strategies (foil vs butcher paper), probe-tender finish, and long rested holds for brisket.