Salted Egg Yolks at Home: The Cure‑Time Blueprint (Wet vs. Dry Brine), Safety Temps, and 10 Ways to Use Them in Pasta, Rice, and Dressings
RecipeSimpli

Why salted egg yolks are worth making at home
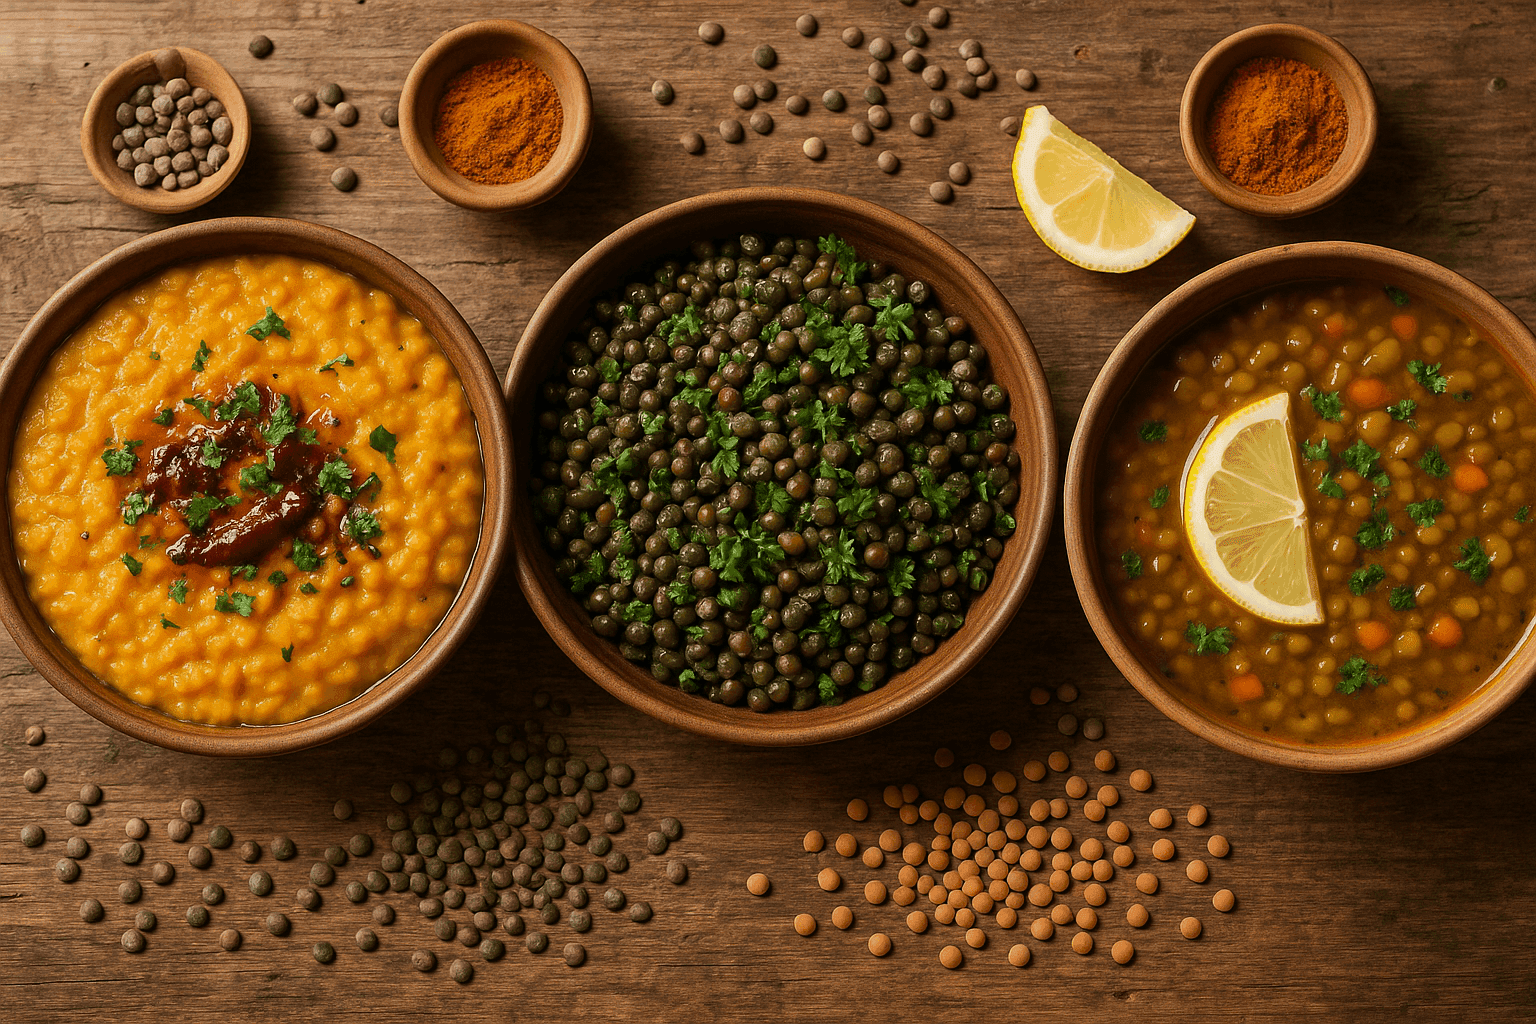
Salted egg yolks are one of those “one ingredient, many superpowers” pantry upgrades: deeply savory, faintly sweet, gently funky, and packed with richness. Depending on cure time, they can be soft and jammy (sliceable like bottarga’s cousin) or firm and grateable (snowy umami sprinkles for everything).
They also solve a common home-cooking problem: you want the punch of aged cheese, anchovy, or cured meat—without necessarily adding dairy, fish, or lots of extra bulk. A cured yolk can deliver that salty depth to pasta, rice, roasted vegetables, and dressings with just a few strokes of a microplane.
Culturally, salted yolks show up across cuisines:
- Chinese cuisine: salted duck egg yolks (*xián dàn huáng*) flavor mooncakes, sticky rice dumplings, stir-fried crab, and “golden sand” dishes where yolk is crumbled and tossed with seafood or vegetables.
- Southeast Asia: salted egg sauces and coatings (often curry leaves, chilies, evaporated milk) are popular with shrimp, squid, fried chicken, and chips.
- Modern Western kitchens: chefs cure chicken yolks in salt-sugar beds and grate them like Parmesan over pasta, salads, and soups.
This guide focuses on home-safe, repeatable methods—with exact ratios, timelines by yolk size, and storage rules—so you can make salted yolks without guesswork.
What curing does (the simple science)
Curing is controlled dehydration plus seasoning.
- Salt draws out moisture via osmosis, lowers “water activity” (the water available for microbes), and seasons the yolk.
- Sugar (optional but recommended) moderates harsh saltiness, supports a rounder flavor, and also helps reduce water activity.
- Over time, the yolk changes from liquid to gel-like to firm as water leaves and proteins tighten.
Think of it like turning a raw yolk into a concentrated, shelf-stable-ish flavor capsule. (It’s not the same as full preservation in a canning sense, but it significantly increases keeping quality when handled correctly.)
Equipment and ingredient checklist
Tools
- A shallow container with lid (glass, ceramic, or food-safe plastic)
- Fine mesh strainer (for wet brine) and/or microplane grater (for serving)
- Kitchen scale (highly recommended for consistent ratios)
- Slotted spoon
- Paper towels
- Optional: instant-read thermometer, dehydrator or low-temp oven (for firm yolks)
Ingredients
- Very fresh eggs (chicken or duck)
- Kosher salt (or fine sea salt). Avoid iodized salt if you’re sensitive to its flavor.
- Sugar: white sugar is standard; light brown sugar adds mild molasses notes.
- Optional aromatics (use sparingly): black pepper, citrus zest, chile flakes, garlic powder. Avoid fresh garlic in the cure (moisture + botulism risk in anaerobic environments).
Food safety: temperatures, time, and egg choices
Use pasteurized eggs if serving yolks without cooking
Cured yolks are not necessarily “cooked.” If you plan to:
- grate over food without further heating,
- or use in dressings/sauces that won’t reach a safe temperature,
…consider pasteurized shell eggs for extra safety.
Keep everything cold
- Cure in the refrigerator at 34–40°F (1–4°C).
- Don’t cure at room temperature.
- Keep yolks out of the fridge only briefly while separating.
Clean handling matters
- Wash hands and sanitize the container.
- Avoid yolk breakage (broken yolks cure unevenly and can become overly salty).
About final “doneness” and safety
Salt curing reduces water activity and makes the yolk less hospitable to microbes, but it’s not a guarantee against pathogens if cross-contaminated or mishandled. Treat cured yolks like a ready-to-eat refrigerated ingredient unless you dehydrate further.
Wet brine vs. dry cure: how to choose
Dry cure (salt-sugar bed)
Best for: predictable jammy-to-grateable texture, easy grating, strong flavor concentration.
- Yolks sit in a bed of salt/sugar.
- Moisture is pulled out quickly.
- Texture becomes firm more reliably.
Downside: uses more salt/sugar (though you can reuse it a couple times if kept clean and dry).
Wet brine (salt solution)
Best for: a gentler cure, more even seasoning, slightly more “custardy” yolks, and a method closer to many traditional salted egg processes.
- Yolks (or whole eggs) cure in strong brine.
- Salt penetrates while moisture exchange is slower.
Downside: harder to hit “grateable” without a finishing dry/dehydrate step; and separating brined eggs can be messy.
Practical recommendation: If your goal is grateable yolk “Parmesan,” choose dry cure. If you want jammy yolks for slicing, rice bowls, or sauces, either method works, with wet brine offering a softer landing.
The dry cure blueprint (most reliable for home cooks)
Base ratio (by weight)
Use:
- 2 parts kosher salt : 1 part sugar (e.g., 200 g salt + 100 g sugar)
This ratio balances seasoning and slows the “too salty” problem that can happen with 100% salt cures.
How much cure mix do you need?
- Plan ~50–70 g cure mix per yolk so you can fully surround each yolk with at least 1/2 inch (1–1.5 cm) thickness.
Optional flavor additions (keep them dry)
Per 300 g cure mix, add one of:
- 1–2 tsp finely ground black pepper
- 1 tsp smoked paprika
- 1–2 tsp finely grated citrus zest (lemon or orange)
- 1/2 tsp chile flakes
Avoid wet ingredients (fresh herbs, minced garlic) that add moisture and increase spoilage risk.
Step-by-step dry cure
- Mix the cure: Combine salt and sugar thoroughly.
- Make a base: Add half the cure mix to your container and level it.
- Create wells: Use a spoon to make yolk-sized indentations.
- Separate eggs: Crack each egg into a small bowl, then gently transfer yolk back and forth between shell halves or use your hand to catch the yolk and let whites slip away. (Save whites for meringues, omelets, or cocktails.)
- Place yolks: Lower each yolk into a well.
- Cover completely: Spoon remaining cure mix over yolks so no yolk surface is visible.
- Refrigerate: Cover with lid/plastic wrap and cure at 34–40°F (1–4°C).
Cure timeline by yolk size (dry cure)
Eggs vary. Use this as a blueprint and adjust by feel.
Chicken egg yolks
- Small (S):
- Jammy: 4–5 days
- Sliceable/firm: 6–7 days
- Grateable (after drying step): 7–9 days
- Medium/Large (M/L):
- Jammy: 5–6 days
- Sliceable/firm: 7–8 days
- Grateable (after drying step): 8–10 days
- Extra-large (XL):
- Jammy: 6–7 days
- Sliceable/firm: 8–9 days
- Grateable (after drying step): 9–11 days
Duck egg yolks (bigger + richer; add time)
- Jammy: 7–9 days
- Sliceable/firm: 9–12 days
- Grateable (after drying step): 11–14 days
How to check texture without guesswork
After the minimum days, uncover and gently excavate one yolk.
- Jammy target: yolk holds its shape, surface is tacky, center yields like soft fudge.
- Firm/sliceable: yolk feels like a dense gel; you can slice cleanly.
- Ready to dry for grating: yolk is firm enough to lift without deforming and doesn’t feel liquid at the core.
If the yolk still feels fragile or slumps, re-bury and cure 24 more hours.
Rinse and dry
- Lift yolks carefully with a slotted spoon.
- Rinse quickly under cool running water to remove cure.
- Pat dry thoroughly with paper towels.
At this point, you can refrigerate jammy yolks (see storage), or proceed to drying for grateable yolks.
Finishing step for grateable yolks: air-dry, oven, or dehydrator
Dry-curing firms yolks, but a short drying step makes them truly grateable and improves storage.
Option A: Refrigerator air-dry (gentlest)
- Place yolks on a rack over a plate.
- Refrigerate uncovered (or loosely tented) 1–3 days.
- Flip once a day for even drying.
Result: firm, sliceable-to-grateable depending on time.
Option B: Low oven (fast)
- Set oven to 150–170°F (65–75°C) (or the lowest your oven reliably holds).
- Place yolks on parchment on a sheet pan.
- Dry 1–2 hours, checking every 20–30 minutes.
Goal: firm to the touch, not wet, not browned.
Tip: Many ovens run hot at low temps. If your oven overshoots, prop the door slightly with a wooden spoon.
Option C: Dehydrator (most controlled)
- Dehydrate at 135–145°F (57–63°C) for 2–4 hours.
Result: very consistent grateable texture.
The wet brine blueprint (for a gentler, traditional-leaning cure)
Wet brining is often done with whole eggs in shell (common for salted duck eggs). You can also brine separated yolks carefully, but whole-egg brining is less fragile.
Brine strength (by weight)
A practical home brine:
- 20% salt brine: 200 g salt per 1,000 g (1 liter) water
- Optional: 2–5% sugar: 20–50 g sugar per 1,000 g water
Why 20%? It’s strong enough to cure effectively in the fridge without being so extreme that you struggle with uneven results.
Wet brine method: whole eggs
- Make brine: Dissolve salt (and sugar) in hot water, then cool completely.
- Submerge eggs: Place clean, uncracked eggs in a jar/container.
- Weight them down: Use a small plate or zip-top bag filled with brine so eggs stay submerged.
- Refrigerate at 34–40°F (1–4°C).
Timeline (wet brine, whole eggs)
- Chicken eggs: 10–14 days for noticeably salted yolk; 14–21 days for stronger effect.
- Duck eggs: 14–28 days (many traditional versions go longer).
After brining, boil/steam the eggs and use the cooked salted yolks (common in Asian dishes and baking). If you want a grateable Western-style cured yolk, dry cure is more direct.
Wet brine method: separated yolks (advanced)
If you brine separated yolks, use a shallow container and ensure yolks don’t touch. Cure 2–6 days depending on size and desired firmness, then dry further. This method is fussier and easier to damage.
Storage rules (and how long they last)
Storage depends on how dry the yolks are.
Jammy cured yolks (not fully dried)
- Store in an airtight container in the refrigerator.
- Best quality: 5–7 days.
- Safety note: because they retain more moisture, treat like a perishable ready-to-eat item.
Firm/grateable yolks (dried after curing)
- Wrap individually in parchment or wax paper, then store airtight.
- Refrigerate for 2–4 weeks.
Freezing
- You can freeze dried cured yolks, tightly wrapped, for 1–2 months.
- Texture can become slightly more crumbly after thawing, but they’ll still grate well.
Signs to discard
- Visible mold
- Off odors (sour, rotten)
- Slimy surface (for dried yolks)
When in doubt, throw it out.
Troubleshooting: the most common problems
1) Yolks are too salty
Causes: cured too long; cure mix is all salt; yolks are small.
Fixes:
- Use the 2:1 salt:sugar cure.
- Shorten cure time by 24–48 hours.
- Grate sparingly and pair with unsalted components (plain rice, unsalted pasta water, vegetables).
- In dressings, cut with extra acid and fat (lemon + oil) to balance.
2) Yolks are still runny in the center
Causes: short cure; very large yolks; fridge running warm; yolks not fully surrounded by cure.
Fixes:
- Re-bury for another 24–48 hours.
- Ensure at least 1/2 inch cure cover on all sides.
- Verify fridge is ≤40°F (4°C).
3) Yolks crack or rupture when moving
Causes: fragile early cure stage; rough handling.
Fixes:
- Cure longer before removing.
- Use a slotted spoon and dig wide around yolk.
- Separate eggs into a small bowl first to avoid shell punctures.
4) Grainy surface or weeping after drying
Causes: under-rinsed cure; drying too hot.
Fixes:
- Rinse briefly but thoroughly, then pat very dry.
- Keep drying temps low; avoid browning.
5) Cure mix gets clumpy and wet
Normal: it absorbs moisture.
Tip: If reusing cure mix, dry it in a low oven (~200°F / 95°C) until crumbly, cool, and store airtight. Don’t reuse if it smells off or has visible contamination.
How to balance salted yolk umami in sauces (so it doesn’t taste harsh)
A cured yolk brings three big things: salt, fat-rich savoriness, and sulfur/egg aromatics. The best sauces balance it with:
- Acid (lemon juice, rice vinegar, sherry vinegar) to brighten.
- Neutral fat (olive oil, canola, butter) to round edges.
- Fresh alliums/herbs (chives, scallions, parsley) to lift aroma.
- Starch water (pasta water, rice congee) to emulsify and spread flavor.
A useful mental model: treat grated cured yolk like a salted, eggy Parmesan. Add it late, taste constantly, and reduce other salt sources (soy sauce, salted butter, aged cheese) until you find your preferred equilibrium.
10 practical ways to use salted yolks (pasta, rice, dressings, and meal prep)
1) Five-minute “carbonara-ish” pantry pasta
For 2 servings:
- 6–8 oz (170–225 g) spaghetti
- 1–2 cured yolks, finely grated
- 1 whole fresh egg (or 2 yolks) for creaminess (optional)
- Black pepper, lots
- 1/3 cup hot pasta water (as needed)
Toss hot pasta with grated cured yolk, pepper, and a splash of pasta water until glossy. If using fresh egg, temper with pasta water and stir off heat. Go easy on added salt.
2) Mushroom + cured yolk risotto (or any creamy rice)
Fold 1 grated cured yolk into the finished risotto with butter and lemon zest. The yolk amplifies savory notes similar to aged cheese.
Meal prep tip: portion risotto, then grate yolk over each serving right before eating to keep aroma fresh.
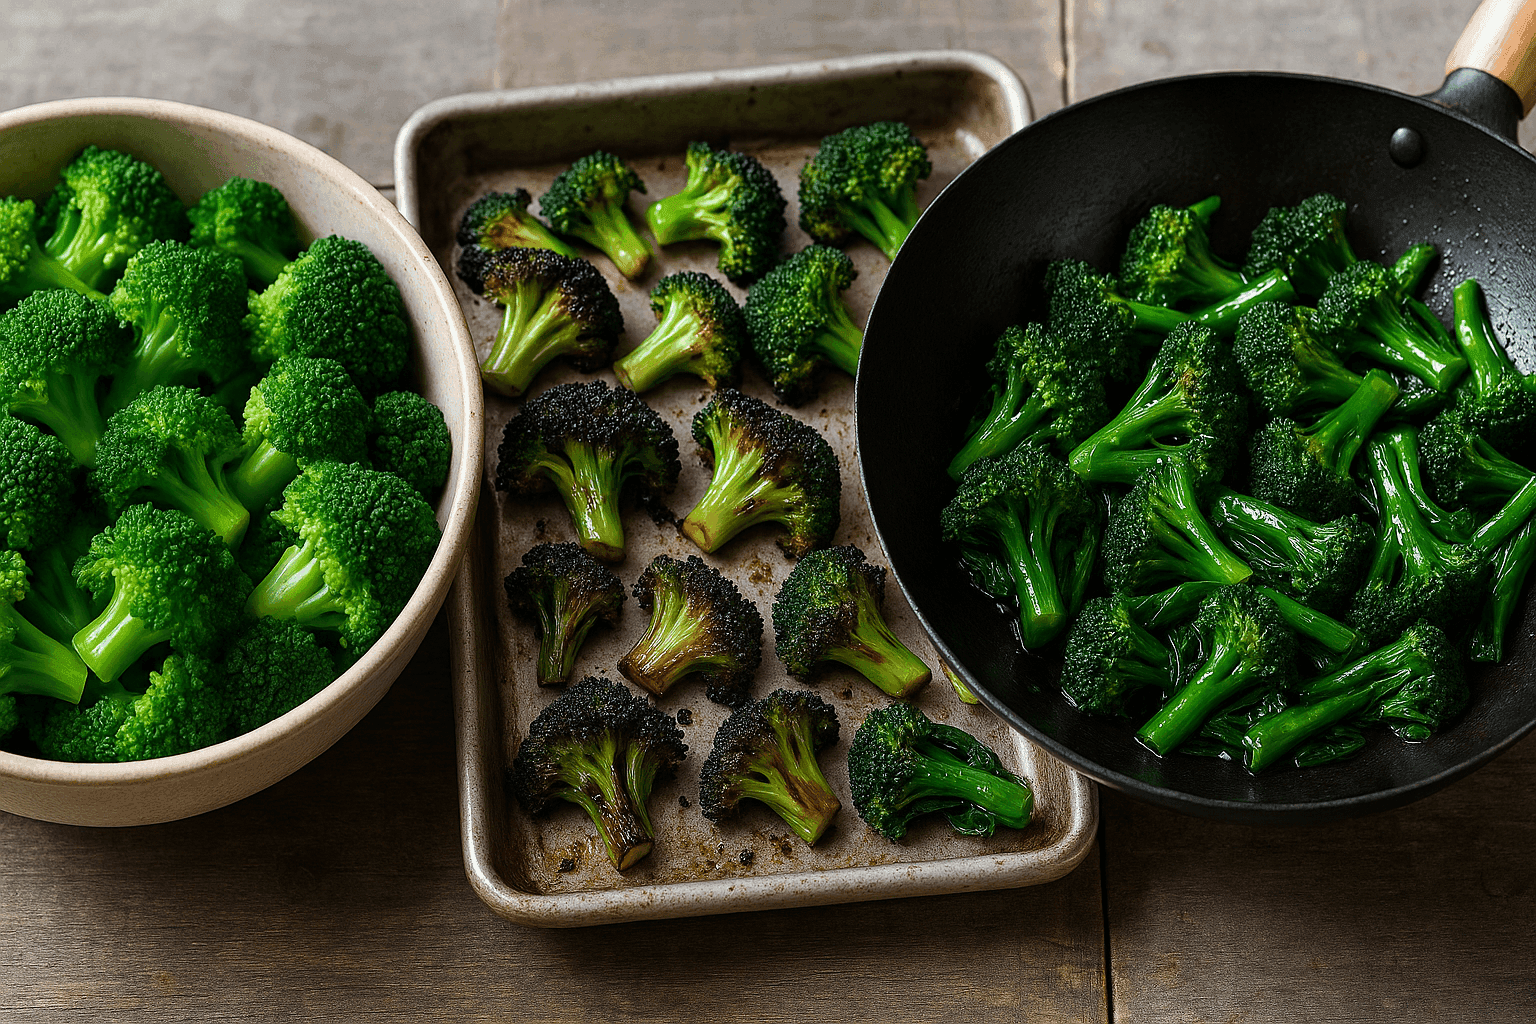
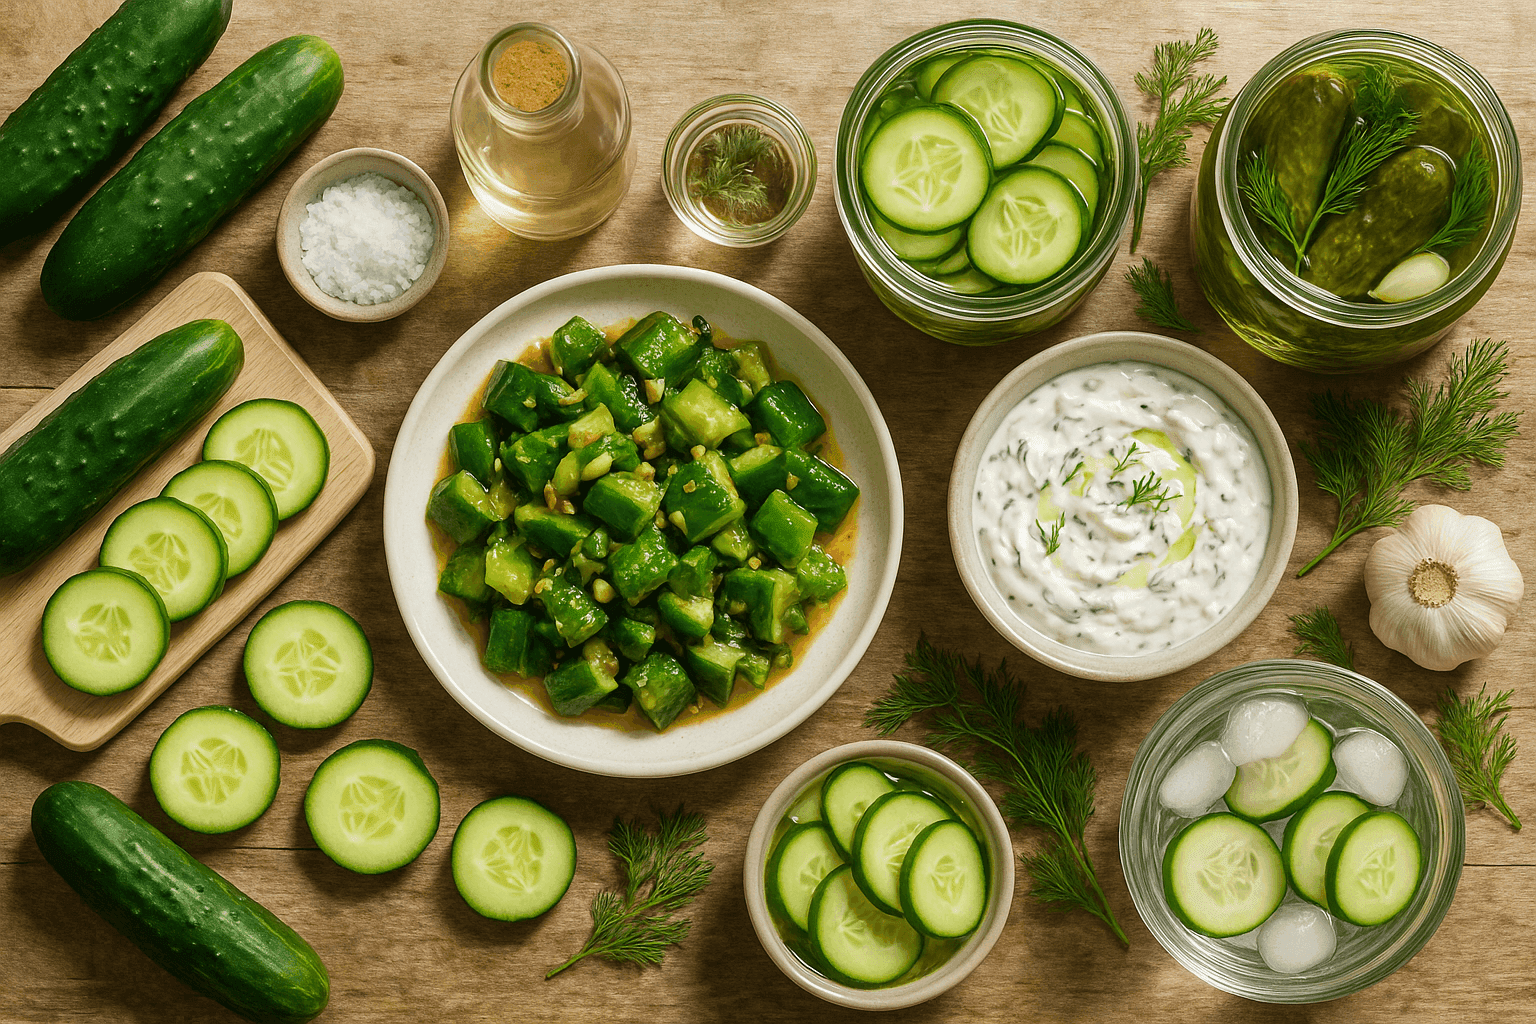
3) Rice bowl “finisher” for roasted vegetables
Build a bowl with:
- warm rice
- roasted broccoli/sweet potato/cauliflower
- quick-pickled cucumbers
- sesame oil or chili crisp
Finish with grated cured yolk like seasoning. It’s especially good with sesame and vinegar.
4) Savory oatmeal or congee upgrade
Stir a spoon of hot congee or oatmeal with scallion oil, soy (lightly), and ginger—then top with shaved cured yolk. The porridge mellows salt and makes the yolk taste deeply rounded.
5) Caesar-style dressing without anchovy (or with it)
In a blender:
- 1 cured yolk (or half, start small)
- 1–2 tbsp lemon juice
- 1 tsp Dijon
- 1 small clove garlic (or a pinch garlic powder)
- 1/2 cup neutral oil
- 2–4 tbsp water to thin
- Black pepper
Blend until emulsified. Taste before salting—you may not need any. Add Parmesan only if you want extra funk.
6) Vinaigrette that tastes like “instant aged cheese”
Whisk:
- 1 tbsp vinegar (sherry or red wine)
- 2–3 tbsp olive oil
- 1–2 tsp grated cured yolk
- pinch pepper
Toss with bitter greens (radicchio, arugula) or roasted beets.
7) “Golden crumbs” coating for shrimp, tofu, or green beans
Traditional-inspired method:
- Steam/boil 2–3 salted (cooked) duck egg yolks or use firm cured yolks
- Mash and fry gently in a little oil until sandy and aromatic
- Toss with fried shrimp/tofu/green beans
This delivers the famous salted-yolk “sand” texture used in many Cantonese-style dishes.
8) Buttered noodles with cured yolk and lemon
For weeknight simplicity:
- buttered noodles
- lemon zest + squeeze
- lots of black pepper
- grated cured yolk on top
The lemon keeps it from feeling heavy, and the yolk replaces the need for cheese.
9) Meal-prep egg salad (use cured yolk as seasoning)
Chop hard-boiled eggs and dress with:
- yogurt or mayo
- mustard
- celery
- chives
Then grate a small amount of cured yolk into the mixture instead of adding extra salt. It adds depth without making the salad watery.
10) Roasted potatoes or fries “umami dust”
Finish hot roasted potatoes with:
- a touch of olive oil
- rosemary or smoked paprika
- microplaned cured yolk
Add the yolk while potatoes are hot so it melts slightly and clings.
A small “starter plan” for your first batch
If you want maximum success on your first try:
- Choose dry cure.
- Mix 200 g kosher salt + 100 g sugar.
- Cure 6 large chicken yolks for 7 days in the fridge.
- Rinse, pat dry.
- Dry in the fridge on a rack 2 days.
- Store wrapped and grate as needed for the next 2–3 weeks.
This hits a reliable middle ground: firm enough to grate, not so aggressive that it’s hard to use.
Notes on sources and culinary science
Professional kitchens popularized salt-sugar cured yolks as a “grateable umami bomb,” applying classic preservation logic (salt + reduced water activity) to eggs. The broader tradition of salted yolks—especially salted duck eggs—is well established in Chinese and Southeast Asian cooking, with techniques ranging from saturated brines to salt-and-ash coatings.
If you want to go deeper on the underlying safety concept, look up “water activity (a_w)” in food science: lowering a_w is a key mechanism behind curing, drying, and sugaring methods across charcuterie and preserved foods.
Quick reference: dry cure cheat sheet
- Ratio: 2 parts salt : 1 part sugar (by weight)
- Fridge temp: 34–40°F (1–4°C)
- Large chicken yolk timing:
- Jammy: 5–6 days
- Firm: 7–8 days
- Grateable (plus drying): 8–10 days + 1–3 days dry
- Storage:
- Jammy: 5–7 days refrigerated
- Dried/grateable: 2–4 weeks refrigerated
If you want, tell me your egg size (S/M/L/XL), whether they’re chicken or duck, and whether you want jammy or grateable—and I can give you a tight, day-by-day schedule for your exact batch size.